The AddEvent module for Drupal 8 lets you place easy-to-use Add to Calendar buttons on your website that integrate with Apple, Google, Yahoo, Outlook, and Office 365 calendar apps among others. The module also lets your users subscribe to entire calendars managed by AddEvent, adding all of your scheduled events to their calendars and keeping their calendars updated if your event details change.
The module is powered by AddEvent and you’ll need an AddEvent account for it to work properly. Free accounts include one calendar, restricted event-adds, and limited functionality; paid accounts include multiple calendars, higher subscriber limits, and a wide variety of other features. You’ll be able to build Add to Calendar proof-of-concept functionality with the AddEvent free version in just 15-20 minutes — but a professional tier account is necessary for any commercial level use.
First things first: Create an AddEvent account
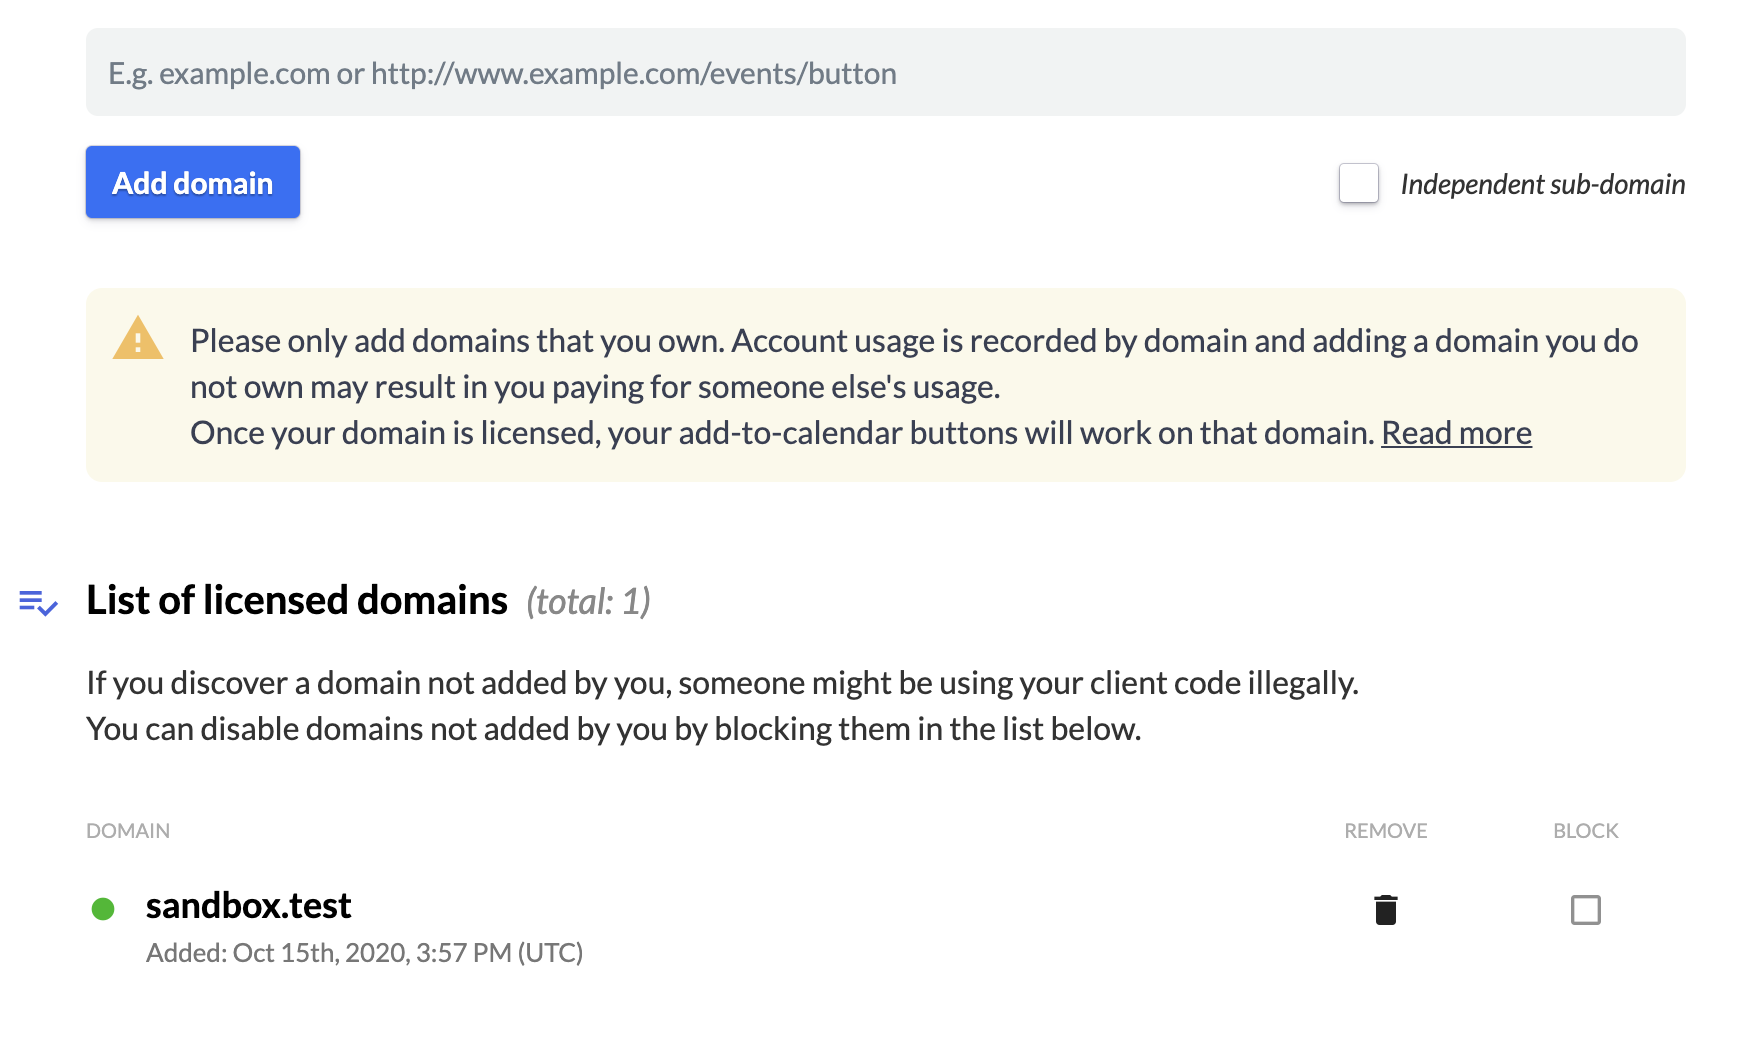
Head over to AddEvent.com and register for an account. AddEvent is a paid service that offers a variety of features and high volume usage for licensed customers — but they also provide a free Hobby account that will get you started. After creating and verifying your account with the free Hobby plan, navigate to the Account screen by clicking on the user menu in the upper right corner of the screen, then clicking Account. From there, click Domains in the left-hand navigation, then follow instructions to add your domain.
The Hobby plan only allows the use of one domain — but you’re able (at the time of writing this, anyway) to add a local development environment so that you can test without deploying to a publicly accessible website. When you’re ready to make the switch, you can simply remove your development domain and add in your live domain.
Install the Drupal 8 AddEvent module
Once you’ve registered for the service you’ll need to install the AddEvent module in your Drupal 8 website. You can install a Drupal 8 module in a variety of ways, but the easiest is probably using your terminal, starting from your project’s root directory. First require the module using composer:
composer require drupal/addevent
Then enable the module using drush:
drush en addevent
Now you’re all set to start using the AddEvent module. You can immediately create single-use Add to Calendar buttons using custom blocks, or combine custom blocks with a custom Event node type and the Token module to automatically produce Add to Calendar buttons for all of your events.
Add to Calendar: Static event buttons
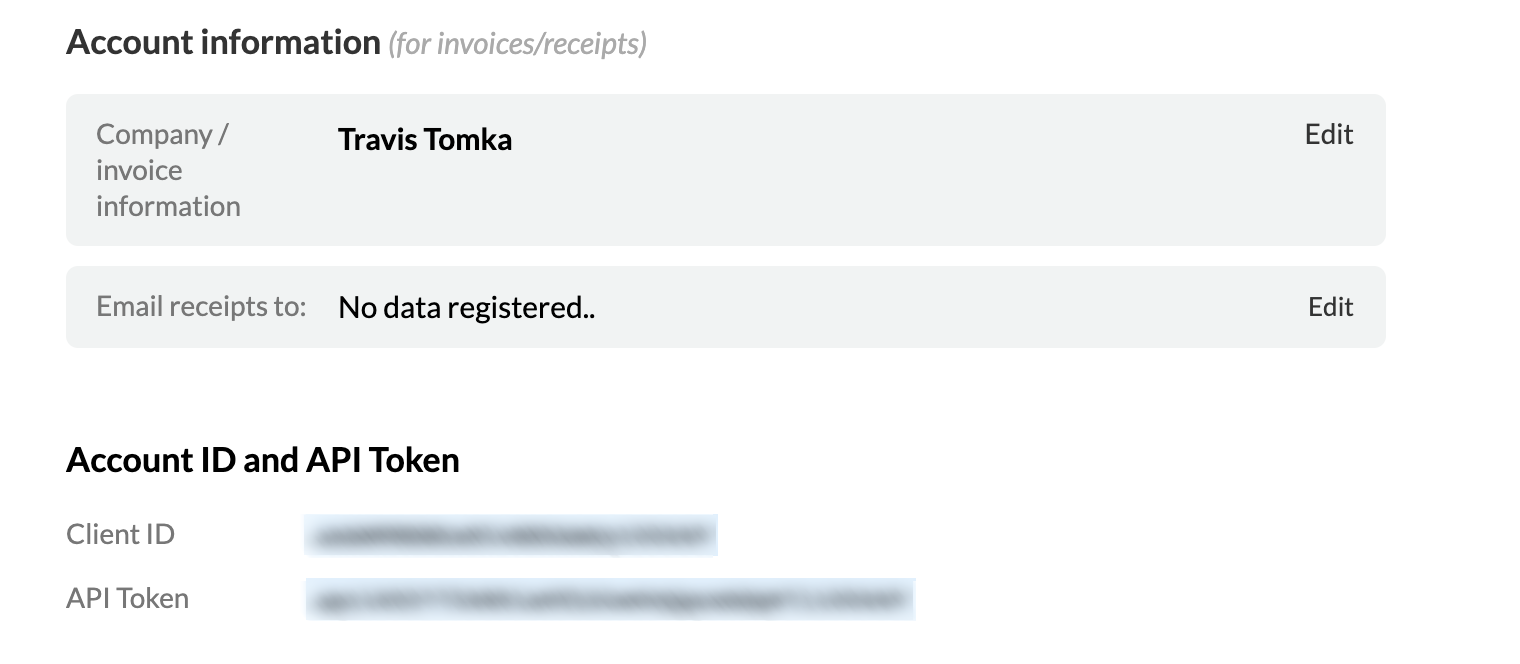
Creating a static Add to Calendar button for a single event is super simple. Before we configure a block with our Add to Calendar link, though, we’ll need to fetch our Client ID from AddEvent. To do that, simply navigate to the Account page at AddEvent.com using the menu in the upper right corner of the screen. You should see a Client ID and API Token — just keep this window open or paste the Client ID in a safe place.
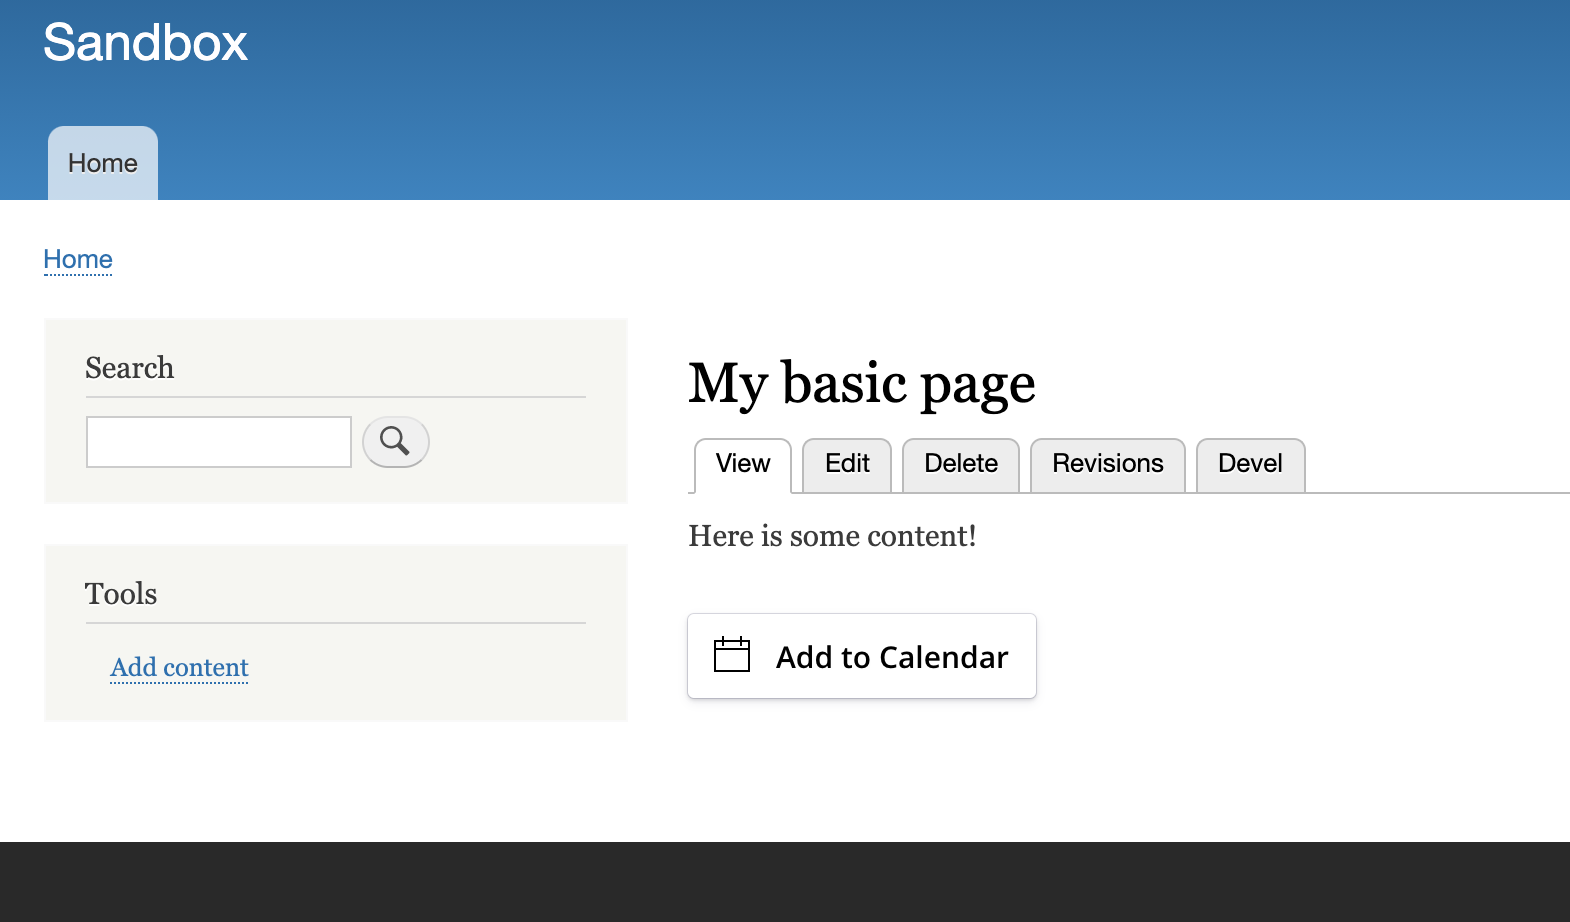
Now on your Drupal site navigate to Structure > Block layout (/admin/structure/block) and click on Place block in the region you would like to place your Add to Calendar button. In my case, I’ll demonstrate adding the button to the Content region of a basic page that lives at the URL /my-basic-page.
From the Place a block dialogue that follows, click Place block next to the Add to Calendar item. Fill out the following fields as indicated to get your first example working:
- Title: Add to Calendar
- Display title: not checked
- Button text: Add to Calendar
- Title: My example event!
- Description: My example event description!
- Start: 10/31/2020 8:00 AM (the format is important, the date isn’t)
- End: 10/31/2020 9:15 AM
- Client: [Client ID from above]
Under the Customization portion of the form, paste your Client ID in the License field. This will remove the AddEvent branding from your button dialogue.
Finally, in the Visibility section of your block setup, choose Pages and write in the URL of the page you’d like the block on — in my case I’ll use /my-basic-page. Click Save block and navigate to the page you configured your block to appear on.
That’s it! Click the button and choose a calendar type to add the event to your calendar — it’s that easy. Next we’ll look at dynamically adding buttons to a custom Event node page.
Add to Calendar: Dynamic event buttons
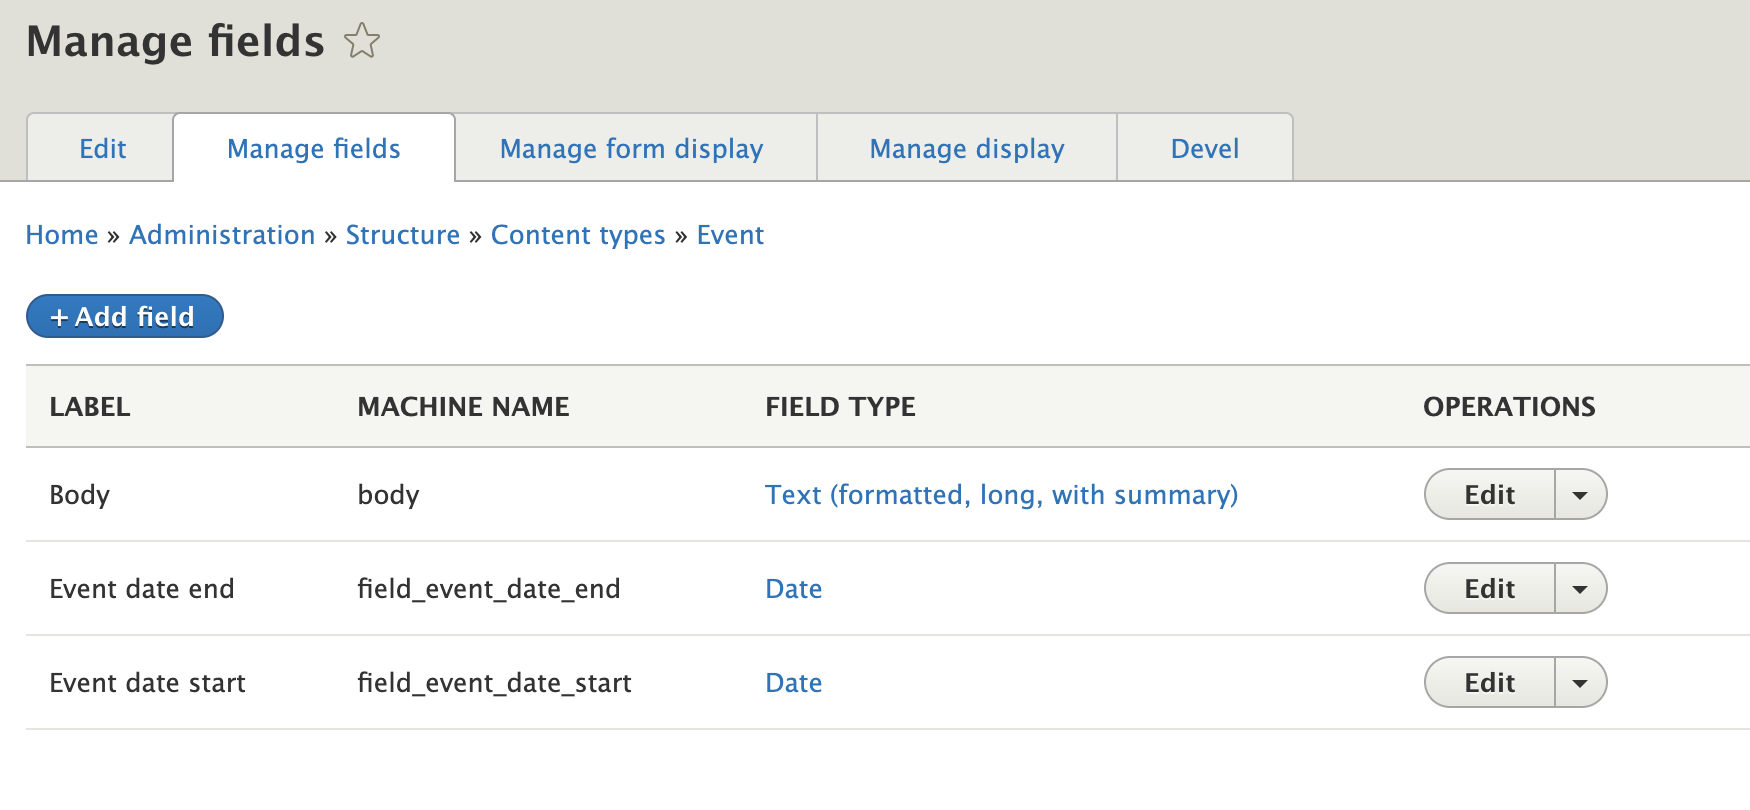
You can create dynamic event buttons by using the Token module with a custom Event content type. Any node type with a properly configured date field will work. Make sure the Token module is installed before proceeding — use whatever Drupal module installation method works best for you. For this example, we’ll create a super simple Event node type. In my example below, I’ve added two custom fields of the Date type: field_event_date_start and field_event_date_end.
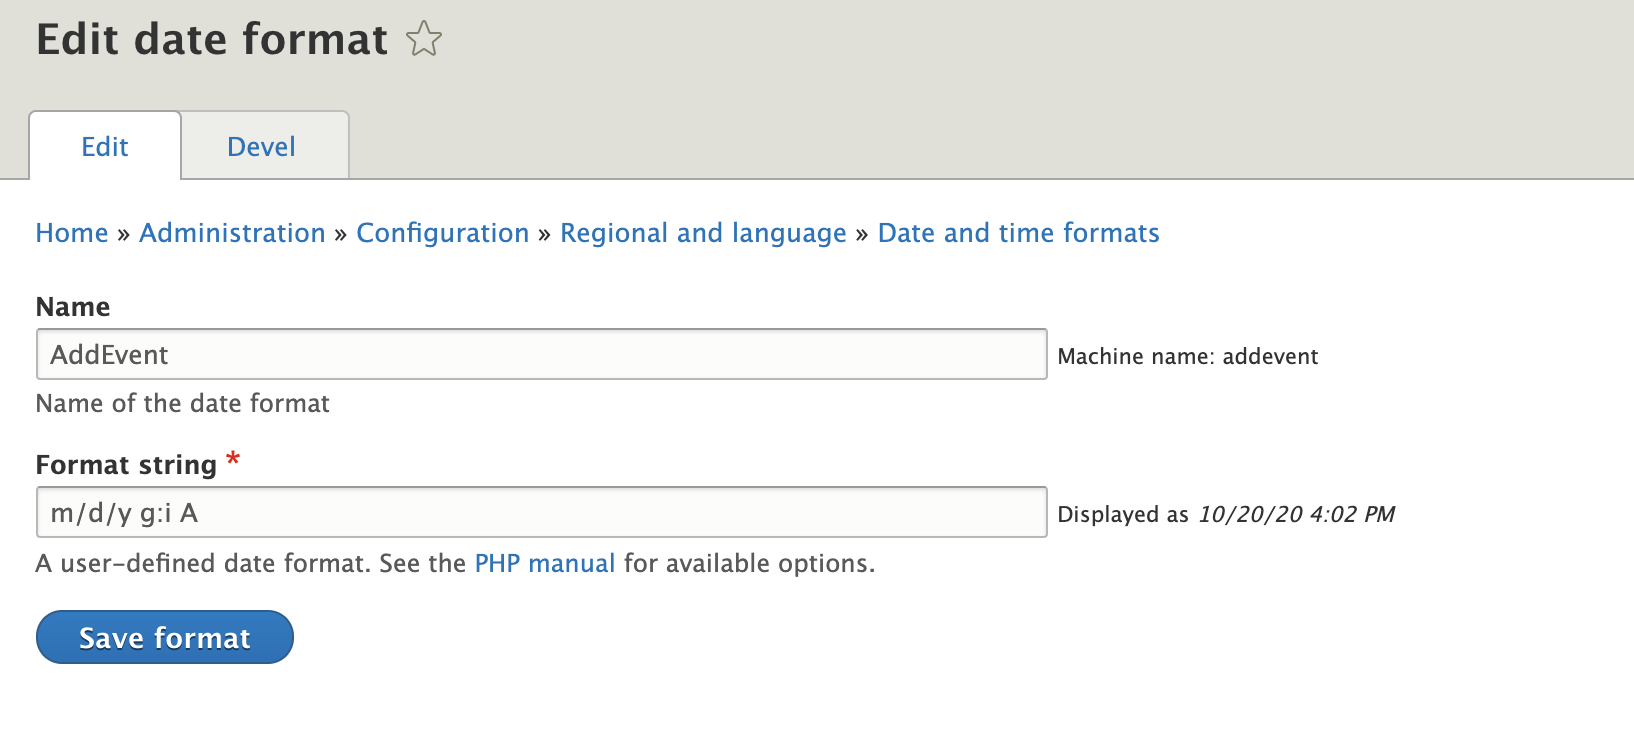
Once your Event content type is set up, you just need to add a new Date format that will work well with the AddEvent module. To do that, navigate to Configuration > Date and time formats (/admin/config/regional/date-time) and click the Add format button. You can see below that I’m calling my format AddEvent and using the format string m/d/y g:i A which will translate to something like 10/30/20 4:45 PM — exactly what we need for our Add to Calendar button.
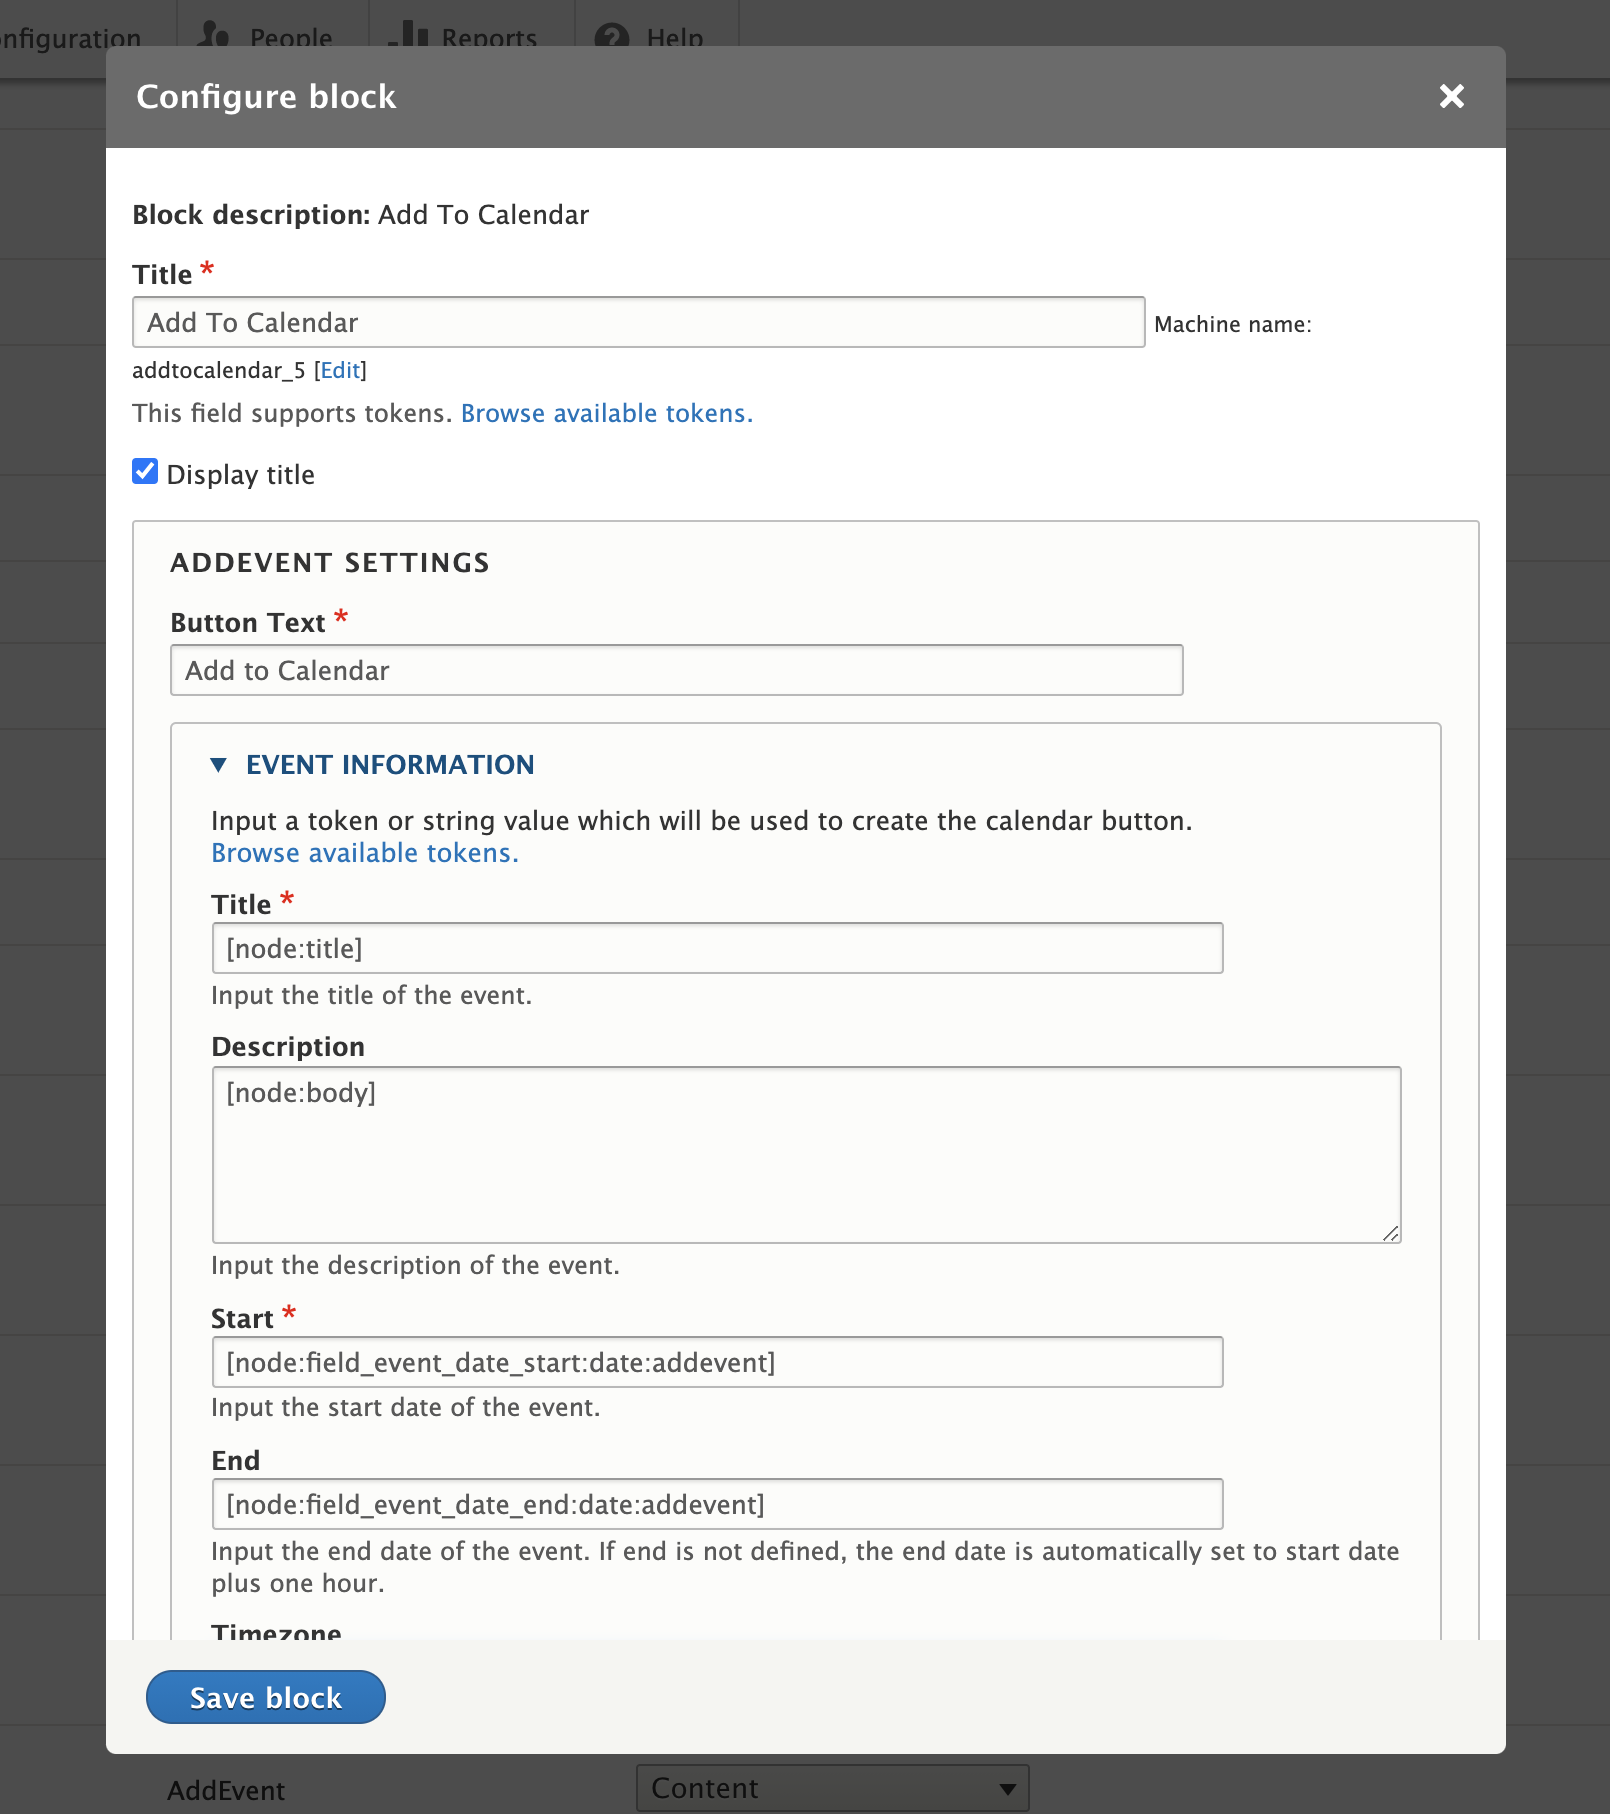
Now we’ll place a new Add to Calendar block just like in the previous section, only we’ll use tokens for the Event title, description, and the start and end dates. When you open the Configure block interface for your new Add to Calendar block, click the Browse available tokens link in the description area of the Event Information section. The tokens you’re looking for will be in the Node group. Notice that the token options for field_event_date_start and field_event_date_end indicate our custom AddEvent format — tokens will be available for all of your custom date formats. Check out my example below.
Everything else will be the same as it was in the first example in the section above, with the exception of the Visibility settings. For this block, we’ll restrict visibility by Content Type, ensuring that the block only appears on our custom Event node type pages.
Once you’ve clicked Save block you’re all set. Now your Add to Calendar button will appear on every Event page in the region you specified, and it will inherit all of the event details from the specific event page.
Subscribe to an AddEvent calendar
Paid AddEvent accounts can manage multiple calendars of events on the AddEvent dashboard, and they have access to robust features like RSVP, custom fielded calendar events, subscriber reports, analytics, and more. While the Hobby account can demonstrate how Subscribe to Calendar works, the feature isn’t much use with the free-version restrictions in place.
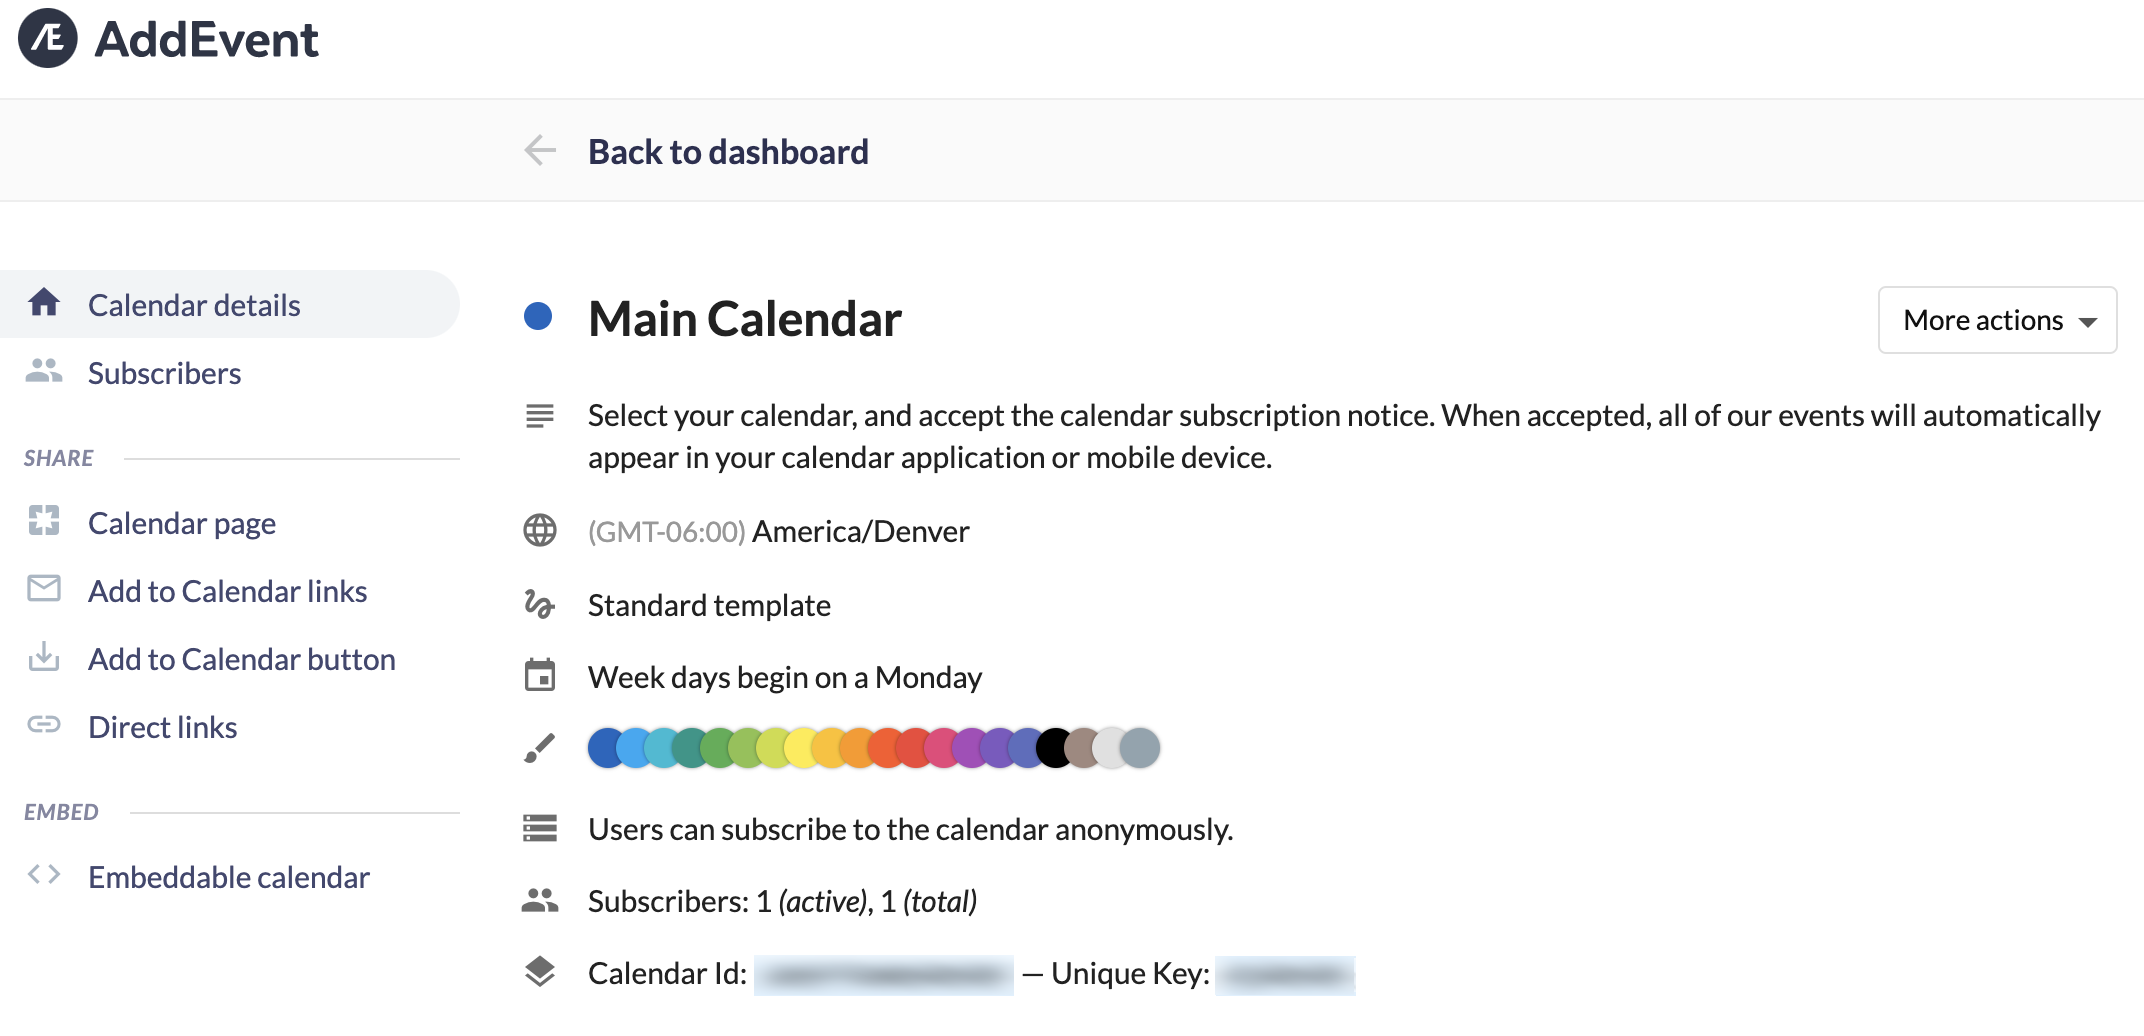
Setting up a Subscribe to Calendar button is super simple. Before setting up the block on your Drupal site, you’ll need the Unique Key for your AddEvent calendar. From your Dashboard on AddEvent.com, click the menu options icon next to your calendar of choice (Hobby accounts only have one calendar) and click Calendar Page. Now copy the Unique Key for use on the block configuration below
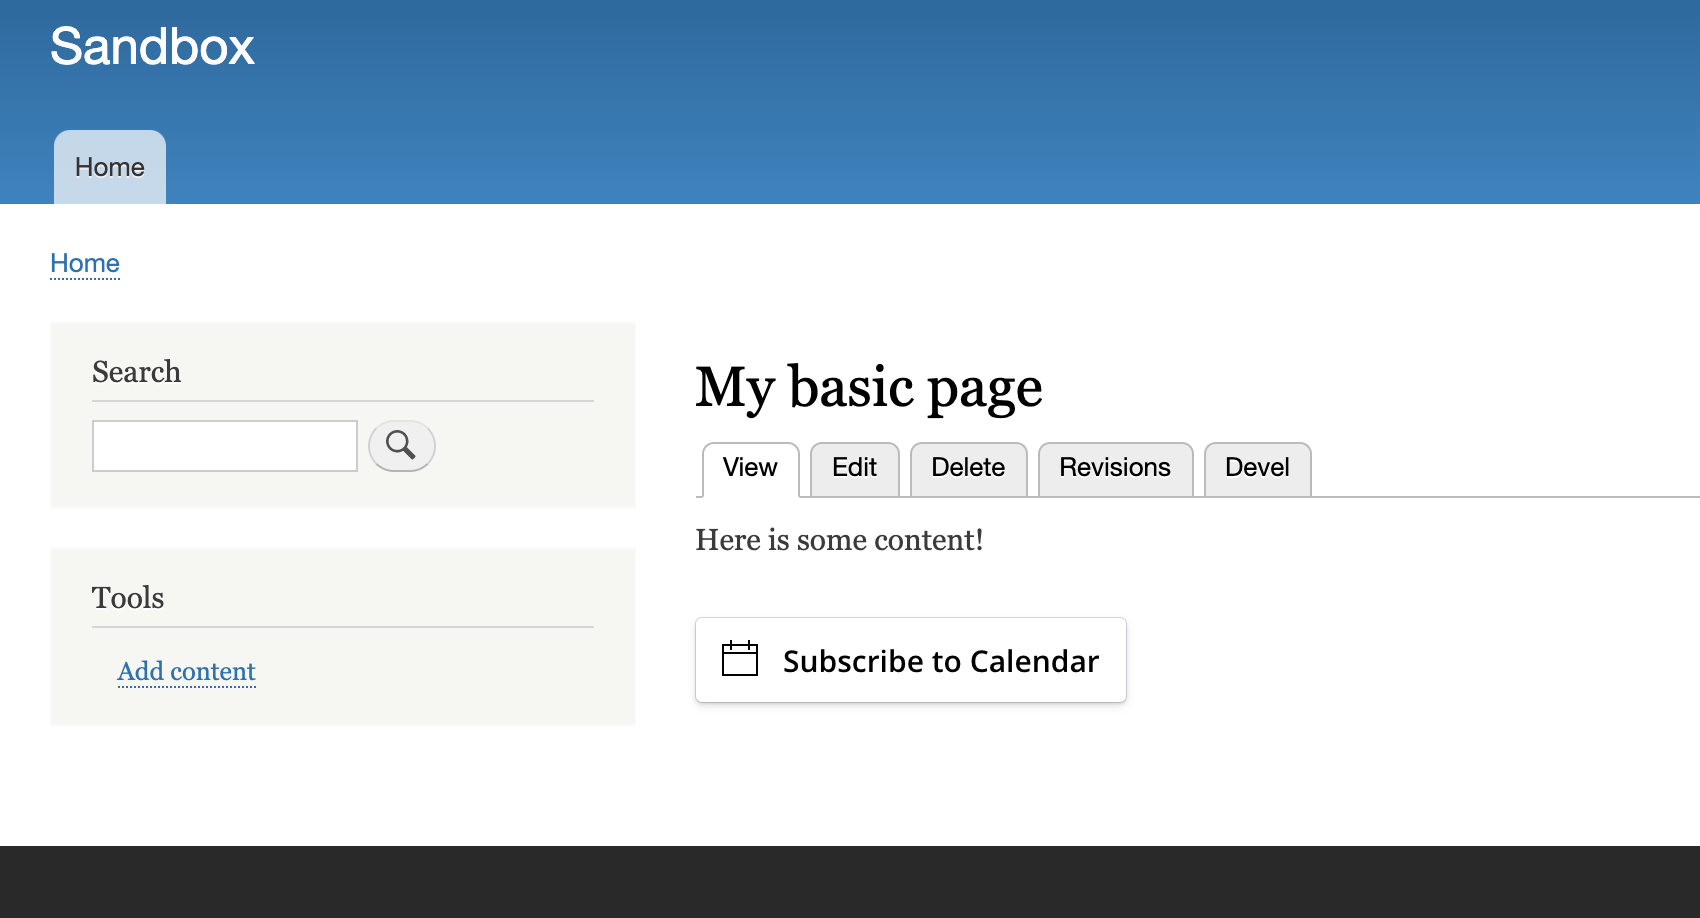
On your Drupal site, navigate to Structure > Block layout (/admin/structure/block) and click Place block in the region of your choice. Choose the Subscribe to Calendar block type, then paste your Unique Key from above in the Data-ID field. You may want to place your Client ID in the License field like in previous configurations, to remove the AddEvent branding from the interface.
You can set up the Visibility settings however you wish, for my example I’ll stick with the /my-basic-page URL like before.
You’re all done! Now your users can subscribe to the calendar(s) you maintain on your AddEvent account. As you add and edit events on your AddEvent calendars, your subscribers’ calendars will be automatically updated. Very cool!
NOTE: Different calendar services synchronize at different speeds and some are very slow. Google Calendars, for example, can take up to 24 hours to synchronize changes from calendar subscriptions.
If you have suggestions, comments, or issues related to the AddEvent module, please let me know on the AddEvent module page! And feel free to leave questions or general comments below.
Read This Next
- Simplified Drupal Views Styling with Custom Style Plugins
- Leveraging Laravel to Modernize Guttmacher Institute’s Database
- Enhanced Bot Protection with Cloudflare
- The Hidden Costs of Choosing Budget Hosting for Your Drupal or WordPress Website
- Syncing Drupal and React for a Custom Interactive Map for Tampa International Airport

