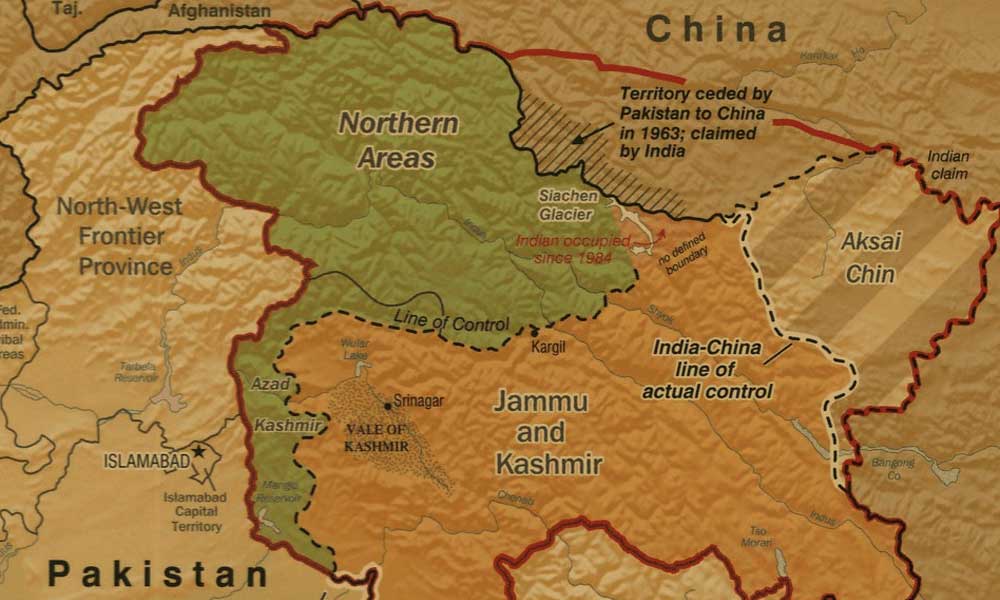
Maps seem to describe unchanging massive features— mountains and oceans which will hold their shape for an eternity from a human perspective.
If you grew up in a country where the political lines haven’t changed in your lifetime it’s easy to imagine they are static, and that the shape won’t ever change. There’s a map on a wall in my parents’ house where the USSR covers the biggest area. There are no countries called Croatia, Bosnia or Serbia and Eritrea is still part of Ethiopia. When politics change, borders are redrawn and old maps become part of history.
The placement of borders can cause war and national tensions, and map providers need to be careful of national sentiment and current events. Google maps had to update how they drew the border between Costa Rica and Nicaragua after Nicaraguan troops entered territory claimed by Costa Rica. Google has responded to many territorial disputes by displaying maps differently depending on where you view them, showing users a map approved by the worldview and local laws of their country.
When drawing your own maps, it’s necessary to make decisions about whose borders you will display and it may not be possible to find a map tileset that exactly matches your needs.
Redrawing Shapefiles
The most common geographic file is called a “shapefile”. Shapefiles are actually several files, the vector geometry, (shp) the positional index (shx), the database of map attributes (dbf) and a projection (prj) which describes the coordinate system.
For this tutorial, I will edit the borders of a country using the free and open source GIS editor QGIS.
I made a brief video walking through this process which I will explain below.
The area called Western Sahara is claimed by Morocco as its Southern Provinces.
Morocco claims this entire area:
To follow along with this tutorial, download source files from naturalearthdata.com.
Download:
I will be editing the “countries” layer to display Western Sahara according to the SADR.
Create a new project folder, copy the contents of these zip files into it. I recommend keeping copies handy, since when you “save” edits in QGIS it changes this source file.
Open QGIS, add your layers with Layer > Add Layer > Add Vector Layer, or shift cmd V.
Select the shapefiles in your project folder, and add. Although you only added the shapefile (shp) the other files were loaded as well, giving you data about the countries.
Zoom to the area with Morocco and Western Sahara. You can toggle the visibility of the layers on and off to see the difference between the border in the Countries file compared to the Disputed Areas file. Countries depicts Western Sahara as a small part to the south east of Morocco alongside Mauritania, an area separated by a 2700 km long fortified barrier known as the Moroccan Wall.
The disputed areas layer contains the shape I will use for Western Sahara. I'll use just that shape from this layer to edit the shape of Morocco. Create a scratch layer by clicking Layer > Create Layer > New Temporary Scratch Layer.
- Select the Disputed Areas layer, then click “edit” to be able to select the vector shape of Western Sahara on the map.
- Copy with either cmd C or by clicking Edit > Copy Features
- Select the scratch layer, click “edit” and paste (cmd V or Edit > Paste Features
- Click the edit icon again to save these changes, then select the disputed layer and click the edit icon to cancel the edits.
This shape covers the area we need to “trim” from the Morocco shape in the countries layer.
Choose the countries layer, then use the select tool to choose Morocco.
- Click Vector > Geoprocessing Tools > Difference
- Choose the countries layer as the input, scratch as the difference layer
- Save a new file by clicking “Browse”, then click OK.
This new layer will now be in the panel, toggle the other layers’ visibility to see it alone.
If the extra geometry bothers you, “edit” the layer, then zoom in and use the node tool to grab individual points and move them out, use the Edit > Delete Part tool to remove these extra shapes.
This layer should now contain only the shape for Morocco, you can verify this by clicking Layer > View Attribute Table to see all the country info.
Creating the Western Sahara layer is simpler, just:
- “edit” the disputed areas layer
- select the country
- copy and “Paste Features as: New Vector Layer”
The options that appear should be the default for this project, click ok then Save As… to create a file. You should now have a shape layer for just western sahara, and can delete the scratch layer created earlier.
Hide all the layers except for countries, click “edit” and select the 2 areas of the map to replace, then delete them.
With the new layers turned on, the new borders are visible.
The last step is to combine the new layers into the original countries layer.
From the menu, choose Vector > Data Management Tools > Merge Shapefiles to One…
Choose the 3 files, countries, and your new Western Sahara and Morocco .shp files. Make a new filename and click ok.
You should now have a single layer that contains all the country data and can be used in other applications.